Direct to Paper with Embossing Folders

This technique leaves a stunning background to any card. I love this technique because of the colored raised images you get and all you must do is add a sentiment. The method is so easy and somewhat messy, so have something to wipe your finger off so you don’t smear on anything. This will give any embossing folder a beautiful look!
Supplies you will need:
Embossing Folder
White pigment ink (you can also use SU classic ink)
Cardstock
Cut & Emboss Machine
Heating tool
Clean scratch paper
Let’s Get Started
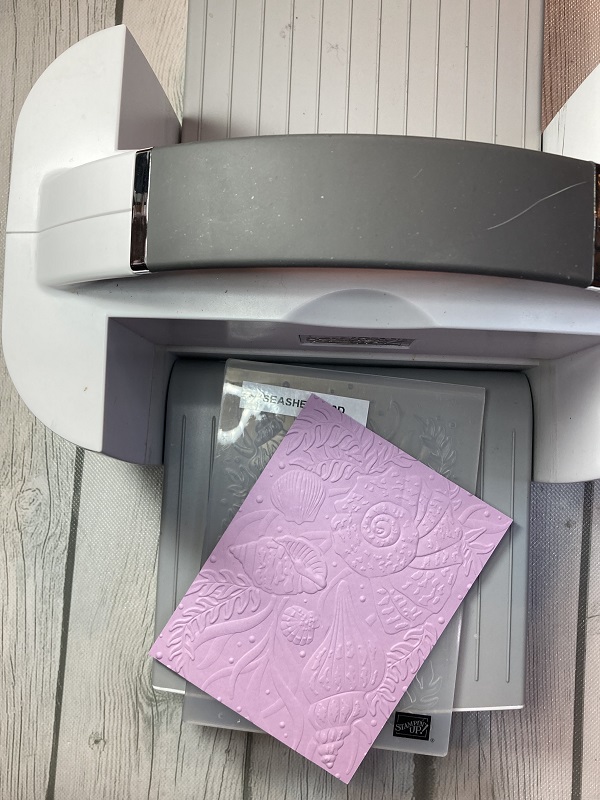
Þ Take a piece of card stock of your choice and run it through the Cut & Emboss Machine with your favorite Embossing Folder
Þ Craft Ink and new scratch paper – this is the messy part. (You can also wear gloves but have something to wipe your fingers off with)
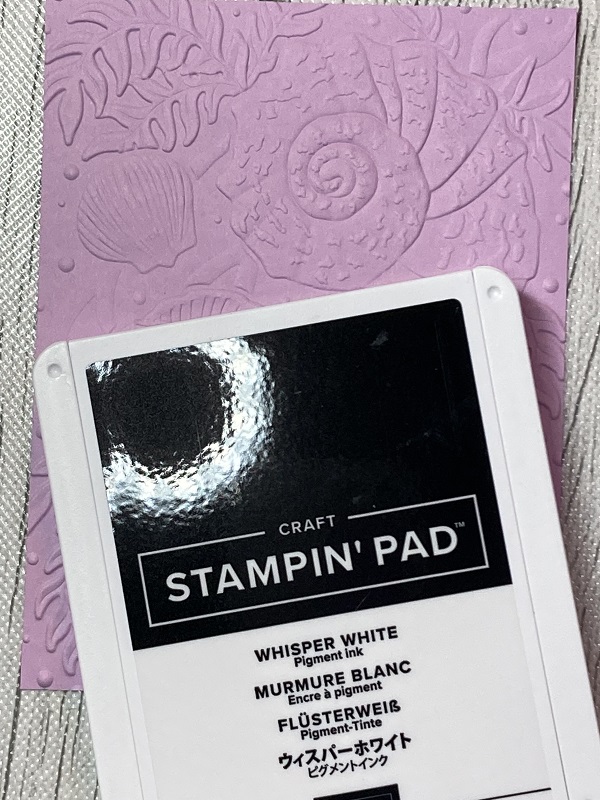
Þ Gently slide/brag your White Craft Pad over the top of the embossed card front
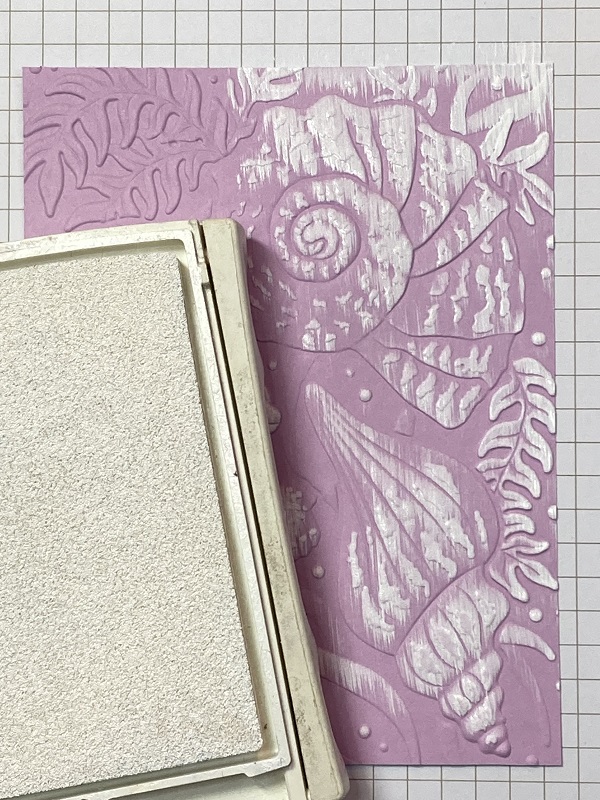
o Best to practice this sliding/dragging on a scrap piece of paper
o Hold the ink pad by the sides
o Keep it level and try to only ink the raised area
o Slide/drag from top to bottom (you can ink a small area or the full length of the card)
o Some ink may get on the cardstock as well as the embossed images
o Keep sliding the ink over the embossed cardstock until you are satisfied with the result

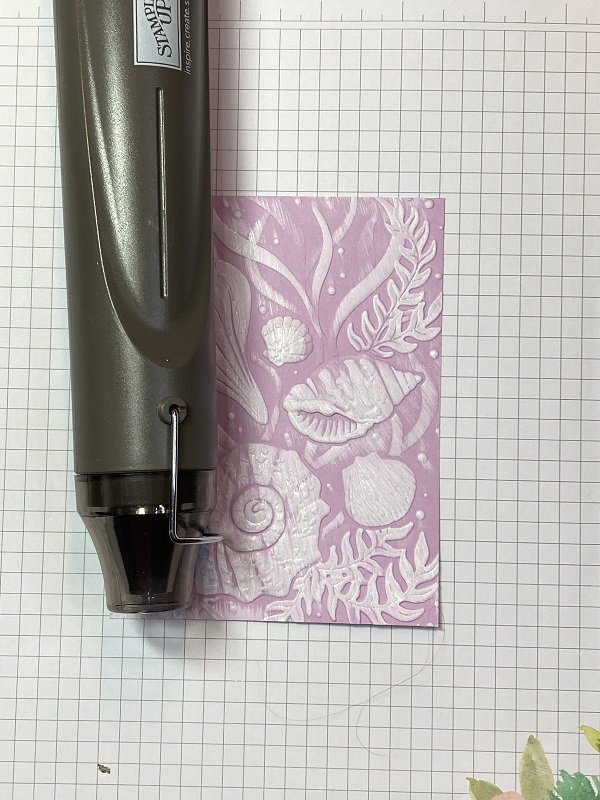
Þ Heat set your ink. Craft ink is wet, so you want to dry the ink
Þ Assemble your card

Options:
• Add a Wink of Stella glitter pen to raised pattern areas for extra shimmer. (I added Wink of Stella on my shells).
• Apply pastel chalks to the raised pattern to add extra color and dimension.
• Add a layer of ink directly to one side of the embossing folder to create a different effect.
• Use Versa mark Ink for the second direct-to-paper (DTP) layer of ink then emboss with powder.
• Use White Craft Ink as a second direct-to-paper (DTP) layer of ink to add a bright highlight like snow.


Add your comment